Complete Off-Grid Solar Setup for Tiny Homes
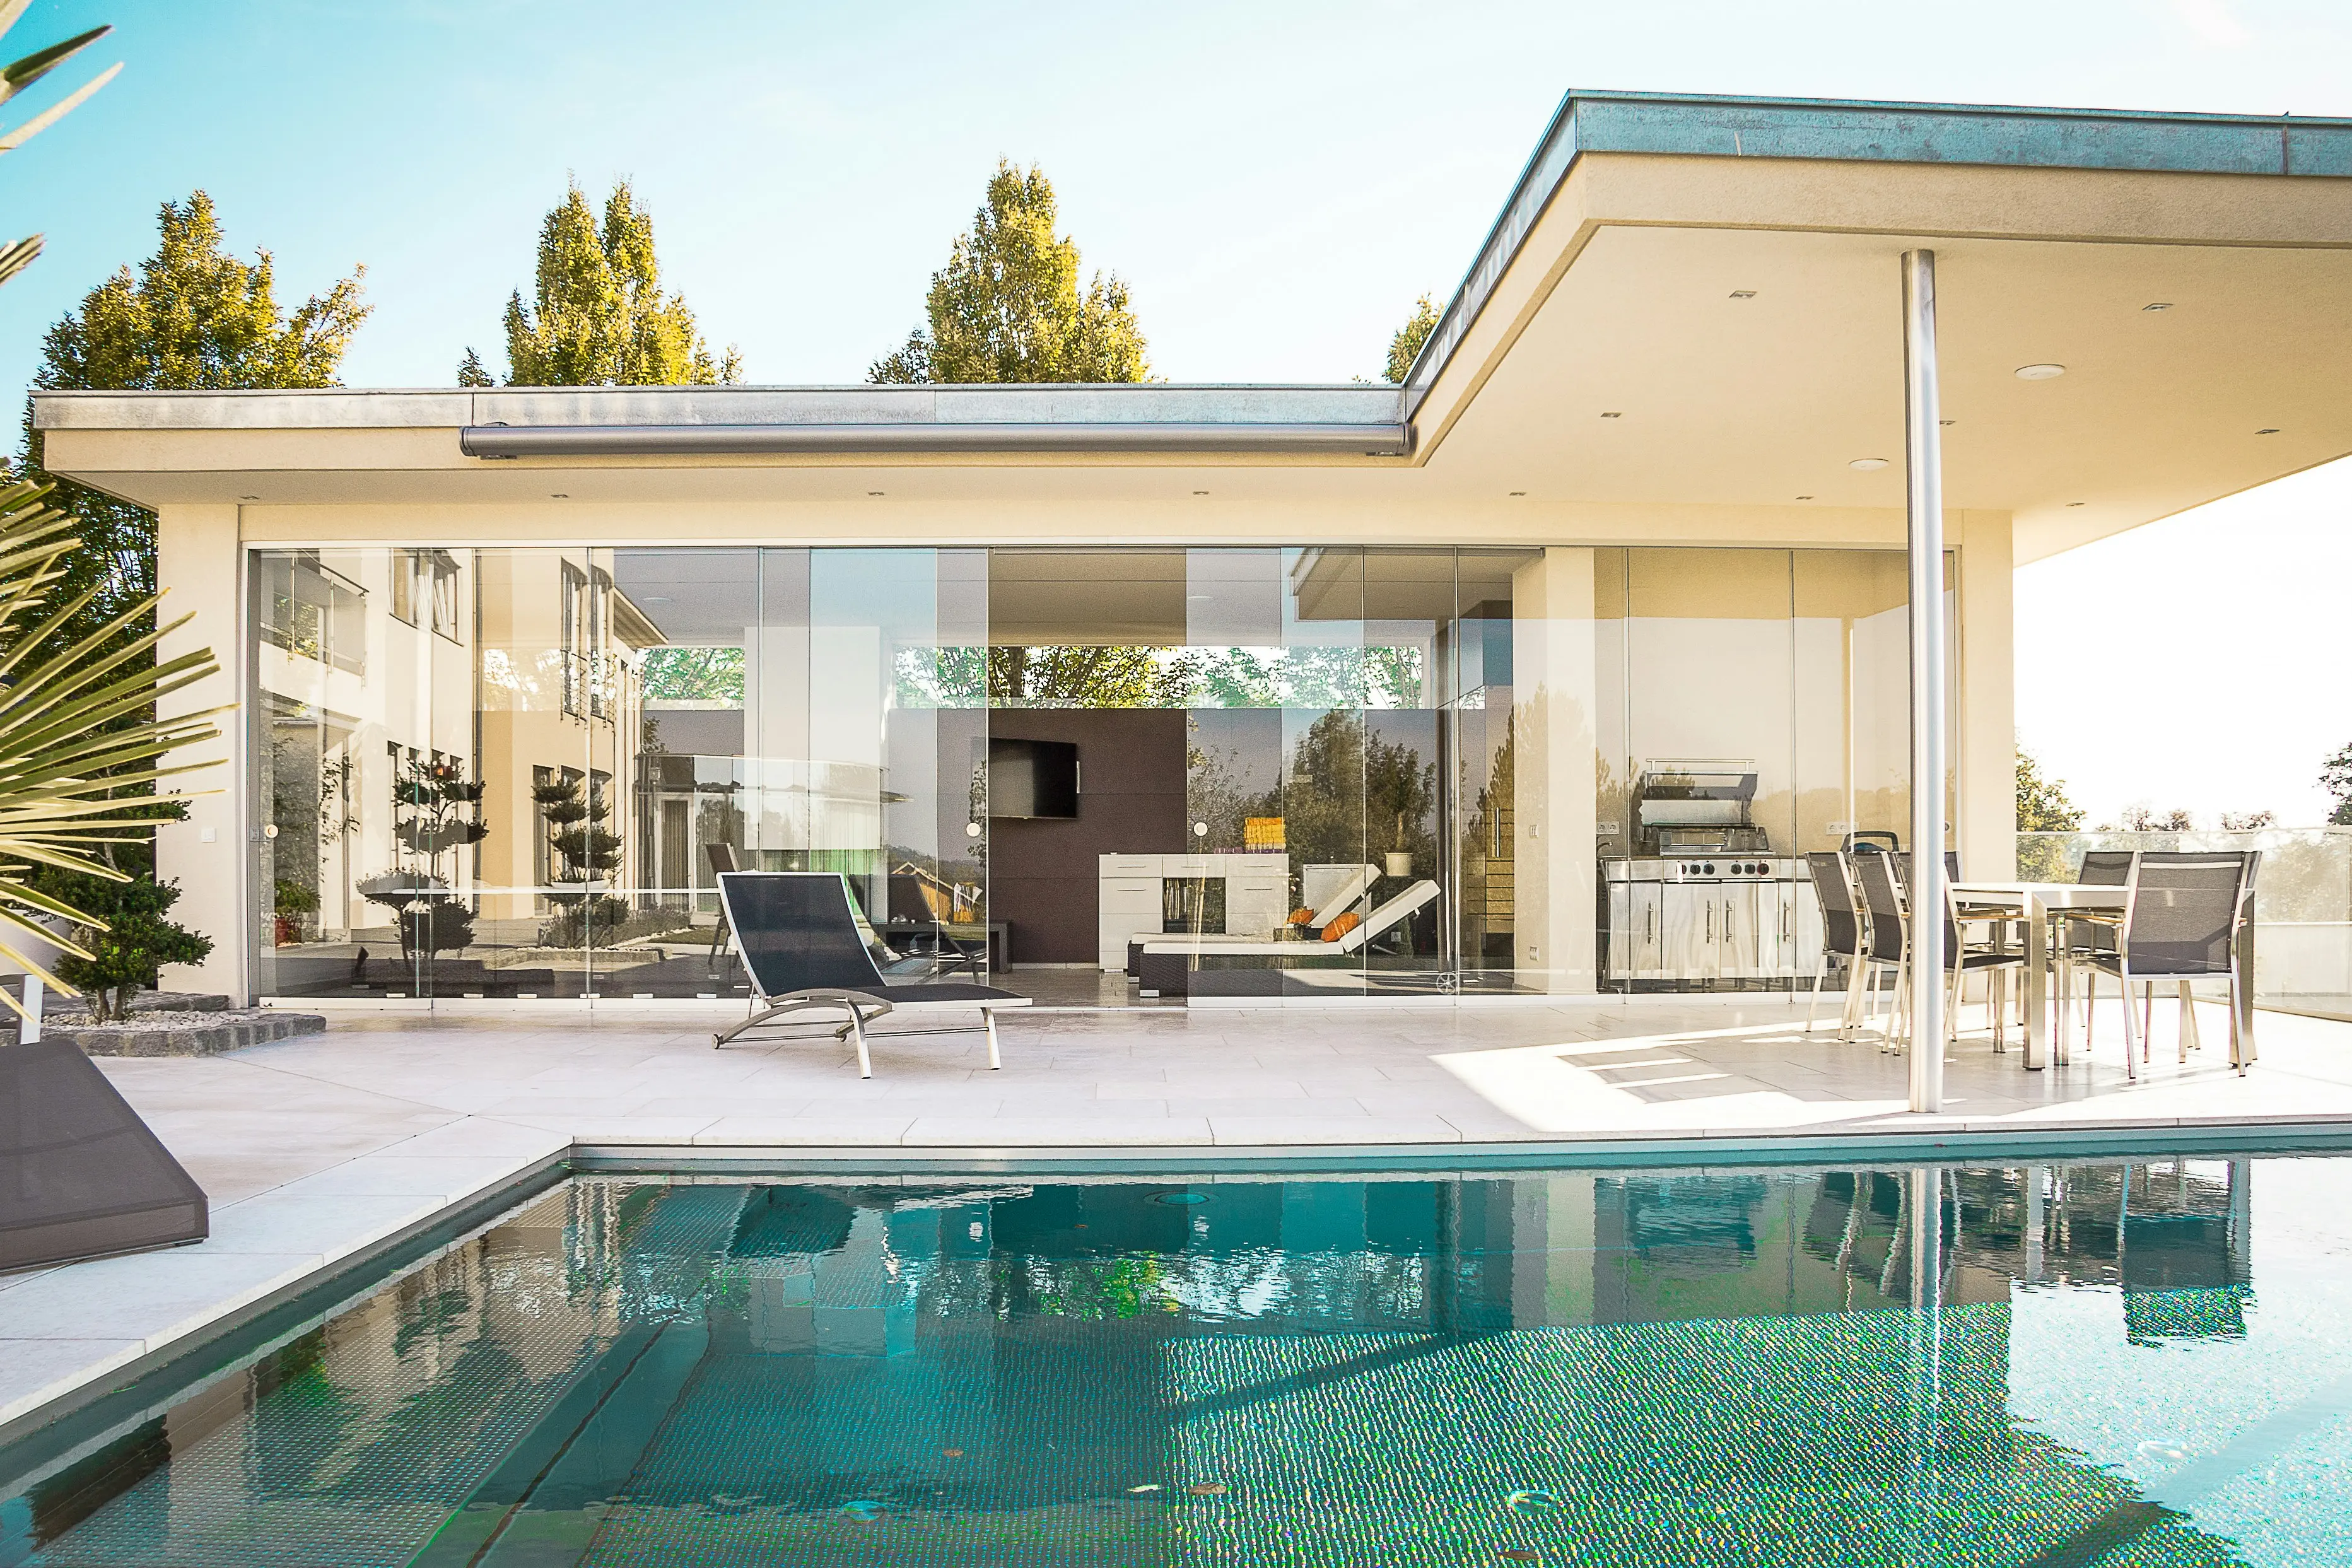
Going solar is the single best decision you can make for your tiny home. It means zero electricity bills, energy independence, and the freedom to park anywhere with sunlight.
In this guide, I'll walk you through everything you need to know to design and install a complete off-grid solar system for your tiny house — even if you've never touched a wire before. I've helped over 200 tiny homeowners go solar, and this is the exact system I recommend for a typical 200-400 sq ft tiny home.
⚡ Step 1: Calculate Your Energy Needs
Before buying anything, you need to know how much power you actually use. Here's a realistic daily energy budget for a typical tiny home:
📊 Daily Energy Budget (Tiny Home, 200-300 sq ft)
| Device | Watts | Hours/Day | Wh/Day |
|---|---|---|---|
| LED lights (x6) | 60W (total) | 5 | 300 Wh |
| Laptop | 60W | 4 | 240 Wh |
| Mini-fridge (12V) | 50W | 8 (avg) | 400 Wh |
| Phone charging (x2) | 20W | 3 | 60 Wh |
| Water pump | 50W | 1 | 50 Wh |
| Ceiling fan | 30W | 6 | 180 Wh |
| WiFi router | 10W | 24 | 240 Wh |
| Total Daily | 1,470 Wh |
Rule of thumb: Multiply by 1.3 for inefficiency and cloudy days → ~2,000 Wh/day (2 kWh/day) is your target system size.
🔋 Step 2: Choose Your Components
A. Solar Panels
For 2 kWh/day in most US locations, you need about 600-800 watts of solar panels. That's 2-3 panels of 300-400W each.
- Monocrystalline — most efficient, best for small roofs. Go with these.
- Polycrystalline — cheaper but needs more space.
- Flexible panels — lightweight, can be glued to curved roofs, but less durable.
☀️ Recommended: Renogy 400W Solar Panel Kit
Complete kit with 2x 200W monocrystalline panels, charge controller, and wiring. Perfect for a tiny home roof.
Check Price on Amazon →B. Charge Controller
This regulates the voltage from your panels to safely charge your batteries. Two types:
- PWM (Pulse Width Modulation) — cheaper ($20-50), less efficient. Fine for small systems under 300W.
- MPPT (Maximum Power Point Tracking) — more expensive ($100-300), 20-30% more efficient. Get MPPT. It pays for itself in a year.
C. Battery Bank
You need batteries to store power for nights and cloudy days. For 2 kWh/day with 2 days of autonomy:
- Lead Acid (AGM or Gel) — cheapest upfront (~$200-400 for 200Ah), but only 50% usable capacity. Heavy (60 lbs each). Last 3-5 years.
- LiFePO4 (Lithium Iron Phosphate) — more expensive upfront (~$800-1,200 for 200Ah), but 100% usable capacity. Lightweight (20 lbs). Last 8-12 years. Worth every penny.

⚡ All-in-One Solution: Jackery Explorer 1000 v2
This unit combines inverter, charge controller, and 1070Wh LiFePO4 battery in one box. Just plug in solar panels and go. Zero wiring required. It runs a tiny home for 1-2 days.
Check Price on Amazon →D. Inverter
Converts DC battery power to AC (standard wall outlet power).
- Pure Sine Wave — required for sensitive electronics (laptops, fridge). Get this.
- Modified Sine Wave — cheaper, but can damage electronics. Avoid.
- Size: For a tiny home, a 1,000-2,000W pure sine wave inverter is perfect.
🛠️ Step 3: The Complete Parts List ($1,500-$3,000)
| Component | Spec | Est. Cost |
|---|---|---|
| Solar panels (2x 300W) | Monocrystalline | $400-600 |
| MPPT charge controller | 40A | $120-250 |
| LiFePO4 battery | 200Ah (2,560 Wh) | $600-1,000 |
| Pure sine inverter | 1,500W | $200-400 |
| Wiring & connectors | MC4, 10 AWG, fuses | $80-150 |
| Mounting hardware | Roof rack or ground mount | $100-200 |
| Misc (breaker box, meter) | $50-100 | |
| Total DIY System | $1,550 - $2,700 |

🔥 Save Power: Use Propane for Cooking & Heating
The less electricity you use, the smaller (and cheaper) your solar system. Use a propane stove like the Camp Chef Everest for cooking — 20,000 BTU of power, zero drain on your batteries.
Camp Chef Everest on Amazon →🔧 Step 4: Installation (DIY in a Weekend)
1. Mount the Panels (Day 1, Morning)
Install roof rack or ground mount. For roof mounting, seal every bolt hole with butyl tape or Dicor self-leveling sealant. Angle panels at your latitude for max efficiency.
2. Run Wiring (Day 1, Afternoon)
Run MC4 cables from panels to charge controller location. Use UV-rated cable. Install a breaker/disconnect switch between panels and controller.
3. Connect Battery & Controller (Day 2, Morning)
Connect battery to charge controller first (this powers up the controller), then connect solar panels. Never connect panels without a battery connected — you can fry the controller.
4. Install Inverter (Day 2, Afternoon)
Connect inverter to battery with thick cables (4 AWG or larger). Install a fuse between battery and inverter. Plug in your devices and test.
🌙 Step 5: Living With Solar
- Check battery levels daily for the first week. You'll learn your usage patterns fast.
- Run high-power devices (vacuum, power tools) during sunny hours when panels are actively charging.
- Keep 20% battery reserve for cloudy days. With LiFePO4, you can drain to 10%, but 20% extends battery life.
- In winter, clean snow off panels and tilt them steeper (your latitude + 15 degrees).
💰 Solar Cost vs. Savings
| Grid Power | Solar (DIY) | |
|---|---|---|
| Upfront cost | $0 | $2,000 (avg) |
| Monthly cost | $50-100 | $0 |
| 5-year total | $3,000-6,000 | $2,000 + $300 (maintenance) |
| 10-year total | $6,000-12,000 | $2,000 + $600 |
| 10-year savings | $3,400 - $9,400 saved |
⚠️ Common Mistakes to Avoid
- Undersizing your battery bank — always get more than you think you need. A 200Ah LiFePO4 battery is the minimum for a tiny home.
- Using cheap wiring — undersized cables cause voltage drop and fire risk. Use the right gauge (10 AWG for panels, 4 AWG for inverter).
- Not fusing anything — every positive wire needs a fuse or breaker. Especially between battery and inverter.
- Mixing old and new batteries — always replace all batteries at once. Mixing kills the new ones.
- Forgetting about winter — solar production drops 50-80% in winter. Have a backup plan (generator or shore power hookup).
🏡 Want to Go Solar? Start Here
Get our free Tiny Home Starter Kit with solar calculations, floor plans, and a full budget breakdown.
Download Free Kit📚 Recommended Reading
For a deeper dive, I highly recommend Tiny House: Designing, Building & Living. It has an entire chapter on off-grid utilities including solar, water, and waste systems.
Disclosure: This post contains affiliate links. If you purchase through these links, we may earn a small commission at no extra cost to you. We only recommend products we personally use and trust.